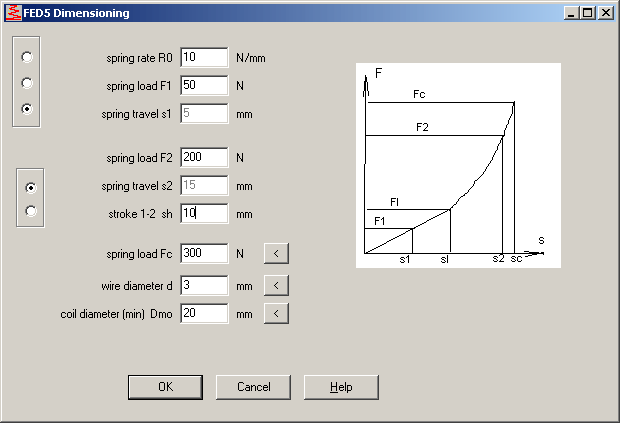
FED5 - Dimensioning
When you use Pre-Dimensioning of FED5 (input of F1, F2, sh, L2), operation zone of the spring (F1 and F2) both must lay in the linear part of the spring curve. If F2 was in the progressive section of the spring curve, you had to design the spring as Recalculation in earlier versions, with iterative approximation to F1 and F2 by variation of the dimensions.

New Version 10.0 provides a new Dimensioning window for this application (spring position s1 in linear section and s2 in progressive section of spring curve).
Input data are spring loads F1, F2 and spring travel s1,s2, or linear (starting) spring rate R0, spring loads F1, F2 and stroke sh. Block load Fc is input value, it may be used to define safety distance sc-s2 between position 2 and block position. You can use "<" button to suggest minimum wire diameter d. Minimum coil diameter Dmo is input value, maximum coil diameter Dmu influences degree of progression and is calculated by FED5. The resulting conical spring is of constant pitch (Po/Pu=1).
DXF2LOGO – Create Logo File $LOGO_1.DX$
You can add yourself company logo and company specific drawing information into production drawings by means of a modified DXF file. Edit dxf file, delete all sections until ENTITY section, save as "$logo_1.dx$" in temp directory and set R/O attribute (see also description in manual). Now we have made a small tool DXF2LOGO to create logo files from dxf files. Customers can download the tool from hexagon.de server. Copy DXF2LOGO together with your DXF logo files into temp directory, then execute the tool with command "DXF2LOGO filename" (without .dxf).
TOL1 – Free Size Tolerances to DIN ISO 2768-1
DIN 7168 for tolerances (fine, medium, coarse, very coarse) was replaced by DIN ISO 2768-1. Old and new standard are approximately identical, only tolerance group "very coarse" defines higher tolerances for sizes > 120 mm.
TOL1 – Free Size Tolerances to DIN 17673 replaced by EN 12420
DIN 17673 for extruded parts was replaced in TOL1 by the tolerance tables according to EN 12420.
TOL1- New Input Window for Free Size Tolerances
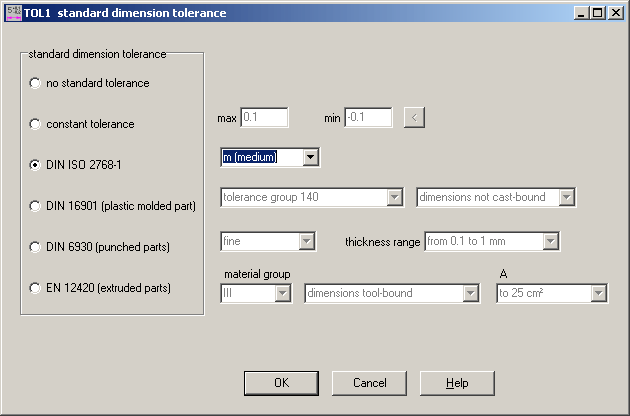
Selection of free size tolerance zones and parameters was arranged more clearly in one input window.
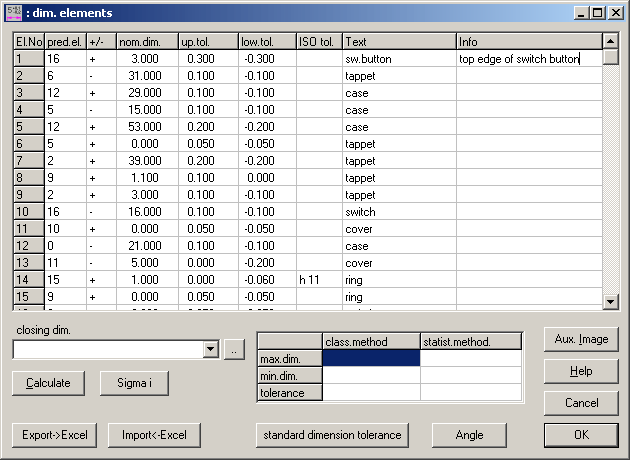
TOL1 - Long Text
Max. 18 characters could be used for description of dimension elements in earlier versions. New versions offer another info field for additional description of up to 60 characters.
FED1,2,3,5,6,7,8,9,11: High-Tensile Valve Spring Wire added

New spring wires have been added to material database:
VD-SiCr, Oteva 70 SC (shaved and not shaved)
VD-SiCrV, Oteva 75 SC, shaved
VD-SiCrV+Ni, Oteva 90 SC, nitrided and not nitrided
DIN 17223:1964, Qual.II
Material data are based on data sheets of supplier Haldex-Garphyttan. Unfortunately, data for Goodman diagram and relaxation are available for only one wire diameter (d = 4 mm). For dependency of Goodman parameters from wire diameter, data from VD-SiCr to EN10270-2 were used. Relaxation data from the data sheet could not be used, because of the strong dependency from wire diameter.
And another material from an old, inactive standard has been added: DIN 17223, release 1964. In this old standard, except from wire type A, B, C and D, there was defined another wire quality II. Surprisingly, values for tensile strength of quality II wire to DIN17223 of 1964 are higher than for high-tensile wire SH and DH according to the successive standard EN 10270-1 of 2001.
Configuration - Size Coefficient for Dimensions
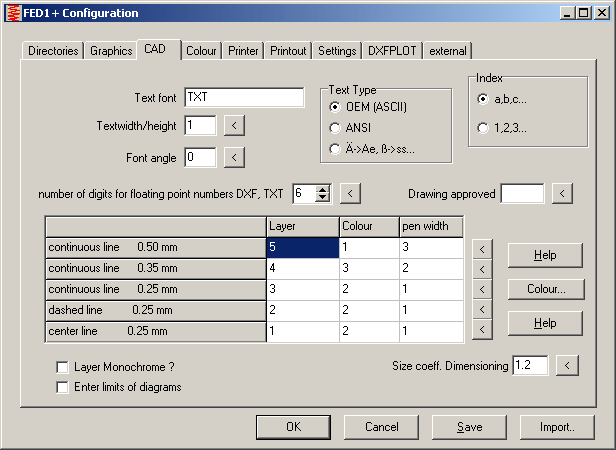
Text size of dimension figures in drawings can be configured by a dimension size coefficient (> 1 to enlarge, < 1 to reduce).
ZARXE, ZAR1+, ZAR3+, ZAR5 - Ball- and Pin Diameter
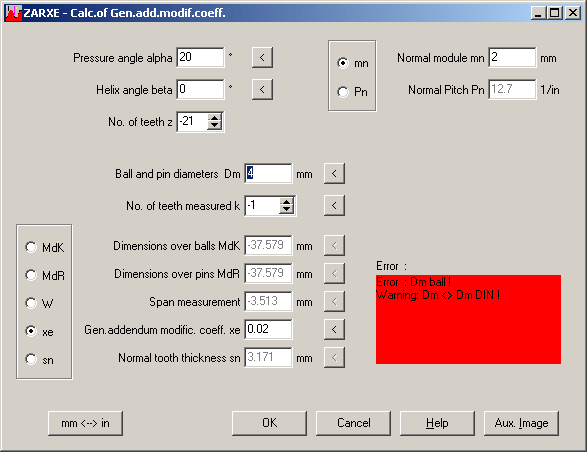
For calculation of dimension over pin and balls, you can enter diameter of pin/ball. Click "<" button to get a valid diameter. If you change ball/pin diameter to a much higher/lower value, result of dimensions over pin and ball may be false. A new error message "Dm ball !" has been added now for this case.
ZAR1+ View -> Tool Profile
At "View->Cutting Tool", ZAR1+ draws reference profile together with tooth height factors, radius, and, if defined, protuberance and chamfer.
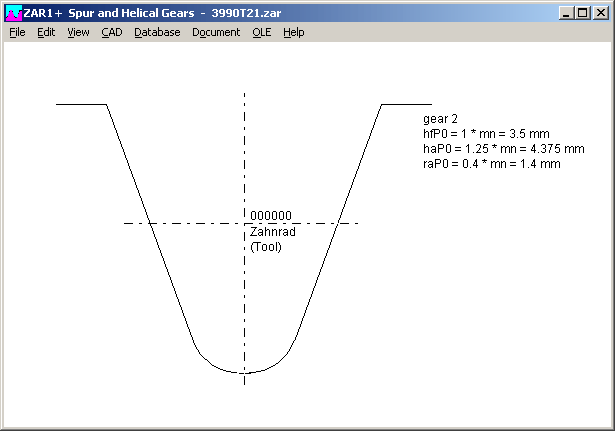
A new error message "rfp0,hffp0 !" appears, if you defined both: chamfer as well as fillet radius rfP0.