ZAR5 - Profile Shift and Center Distance
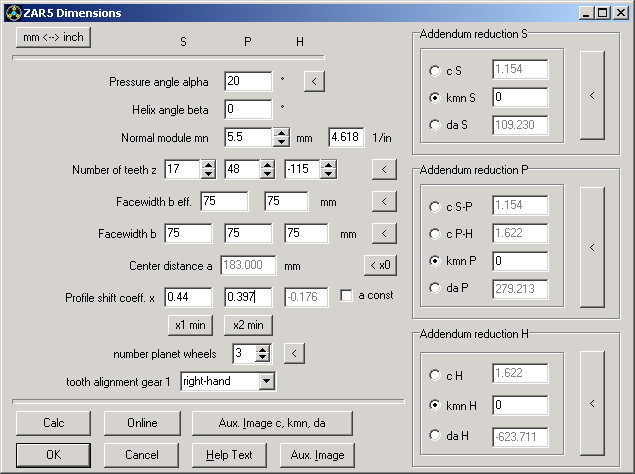
Profile shift coefficients of sun, planet and ring gear cannot be combined freely. If you change one profile shift coefficient, another x coefficient and center distance changes.

Until now, it was somehow confusing that previously input was overwritten if you entered another value. Now, xH is no longer an input value, but is calculated from xS, xP and center distance a. If you enter xS and xP, xH and a are calculated by ZAR5. If you select "a=const", xS and xP will be modified. For ring gears, number of teeth and profile shift (zH and xH) are negative.
ZAR5 – Quick View instead of Wolf Chart
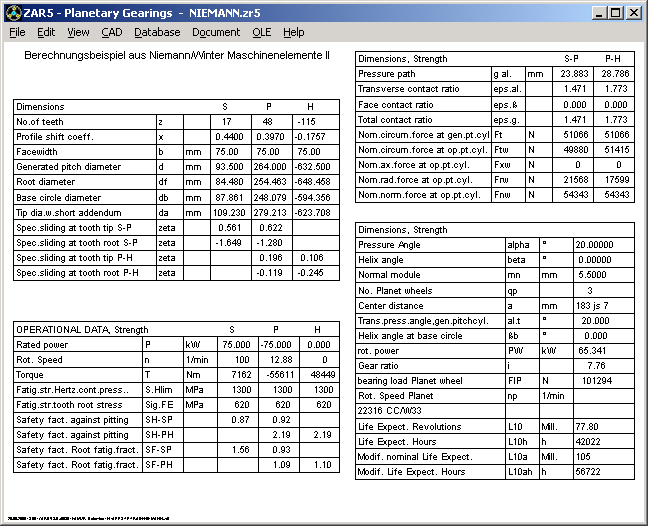
After loading a file or recalculation of planet gear, Quick View with most essential calculation results will be shown now (instead of gear chart according to Wolf).
ZAR5 – Distance between Planet Gears
Distance between planet gears will be calculated and printed now. A negative value means collision. A warning message appears, if distance is less than 0.25 * module. If the distance is smaller than 0.1 * module, ZAR5 gives an error message.
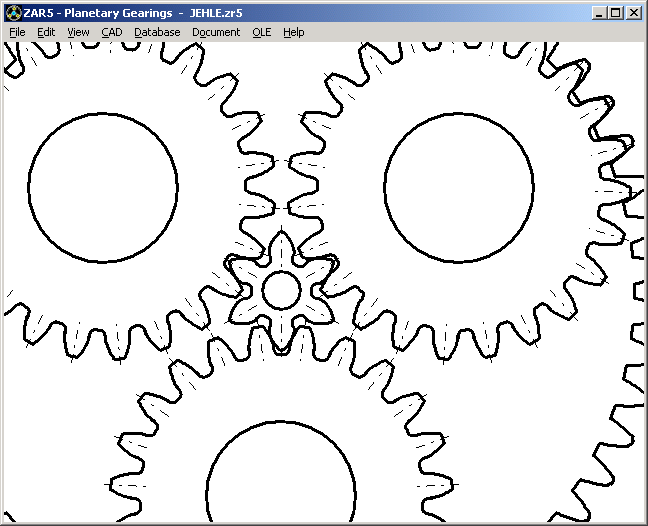
At earlier versions of ZAR5, for a distance of 1.0 and 2.0 * module warning and error message were reported. This values have been reduced, because there is a much smaller safety distance used in practice.
ZAR5 – Ratio of Gears zS, zH, zP
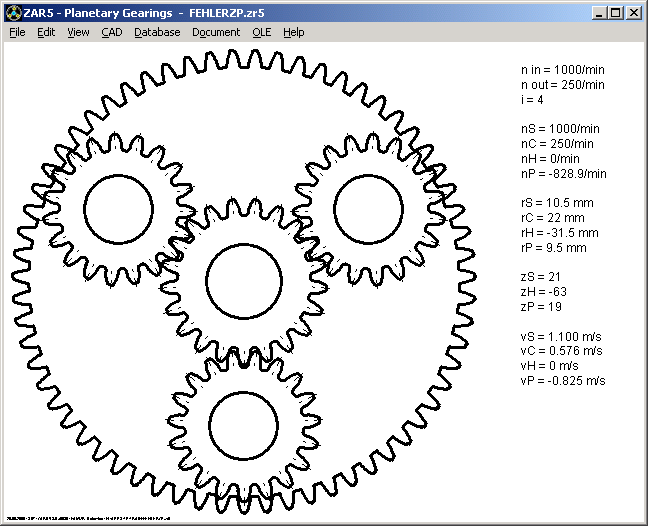
The theoretical number of teeth of the planet gear is calculated as follows: zP = (zS + (-)zH) / 2. By means of profile shift, you can modify this value about one or two teeth higher or lower. But if you break the limit, center distance sun-planet and planet-ring gear is different (see screenshot). ZAR5 now reports an error message "Fatal: zP !" for this case.
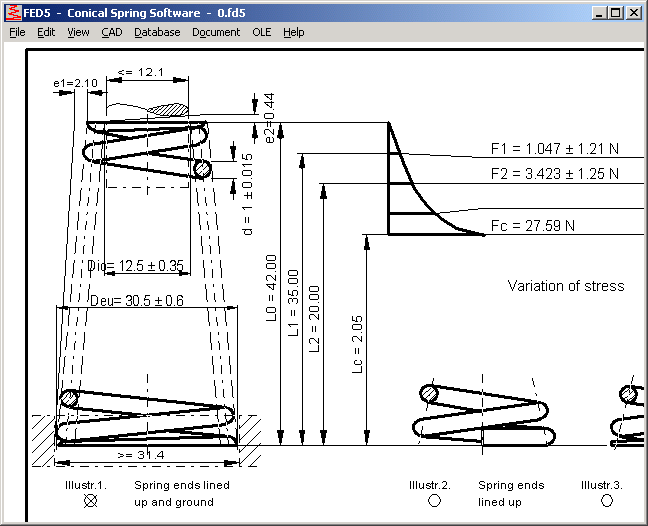
FED5 Production Drawing
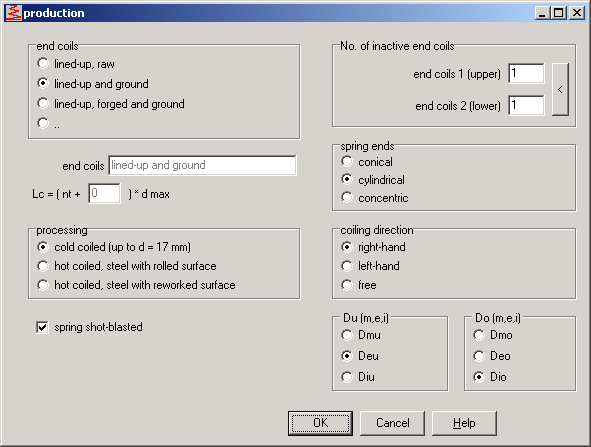
You can now select dimensioning of inner, outer and central coil diameter for upper and lower end of the spring (at "Edit->Production). Until now, it was fixed to center diameters Dmu and Dmo.
FED1, FED6 – Max. Diameter of Mandrel, Min. Diameter of Bore
Limits of bedding mandrel and bore are calculated as follows:
Dmax mandrel = Di - tolerance d - tolerance D
Dmin bore = De + delta De + tolerance d + tolerance D
Values are listed at standard printout. On production drawing, values are printed with only 1 digit, therefore Dmax mandrel is reduced 0.05mm, then rounded, and Dmin bore enlarged 0.05mm before rounding. In earlier versions, rounding difference was 0,09mm, so that values in printout and drawing could differ up to 0.1 mm.
WN2 - Production Drawing Shaft + Hub together
WN2 offers a new graphic with production drawings of shaft and hub together on one page.
WN2, WN5 - Module Digits
WN2 and WN5 allow now input of module with up to 5 digits after comma (instead of 3).
SR1 - Thread Strip Safety
Experimental test at the University of Siegen prove that calculation of minimum thread length engaged according to VDI 2230 lead to wrong results in many cases.
Download: http://www.mb.uni-siegen.de/d/inko_schwarz/Workshop/Publikationen/ESV.pdf
Tip for using SR1: Use Thread Strip calculation according to Dose.
TOL2 – Link to TOL1
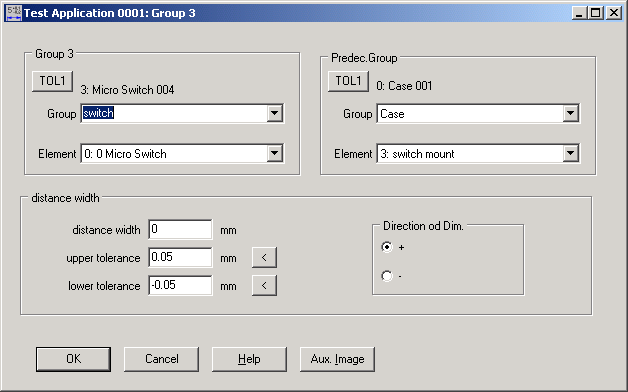
When entering groups with TOL2, click now TOL1 button to start TOL1 in another window and open selected element (TL1 file). TOL1 Path can be configured at "File->Settings->Directories).
Text Printout on Screen
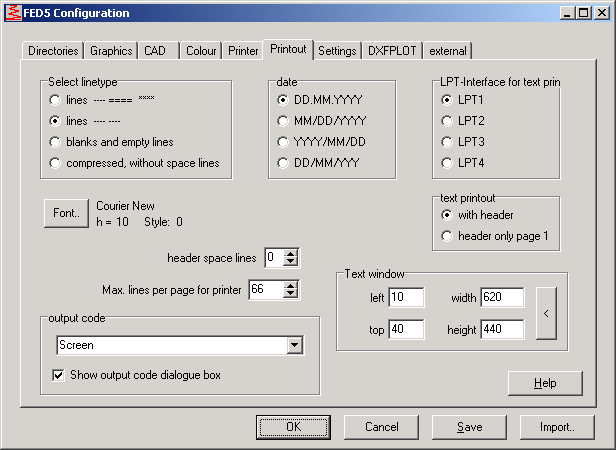
Presetting for printout has been changed to Print to Screen (without request). Printout to Windows printer at "File->Print" at menu of text window.

If you prefer the former settings (with selecting screen/printer/file/HTML), choose "Show output code dialog box", then save settings.
